
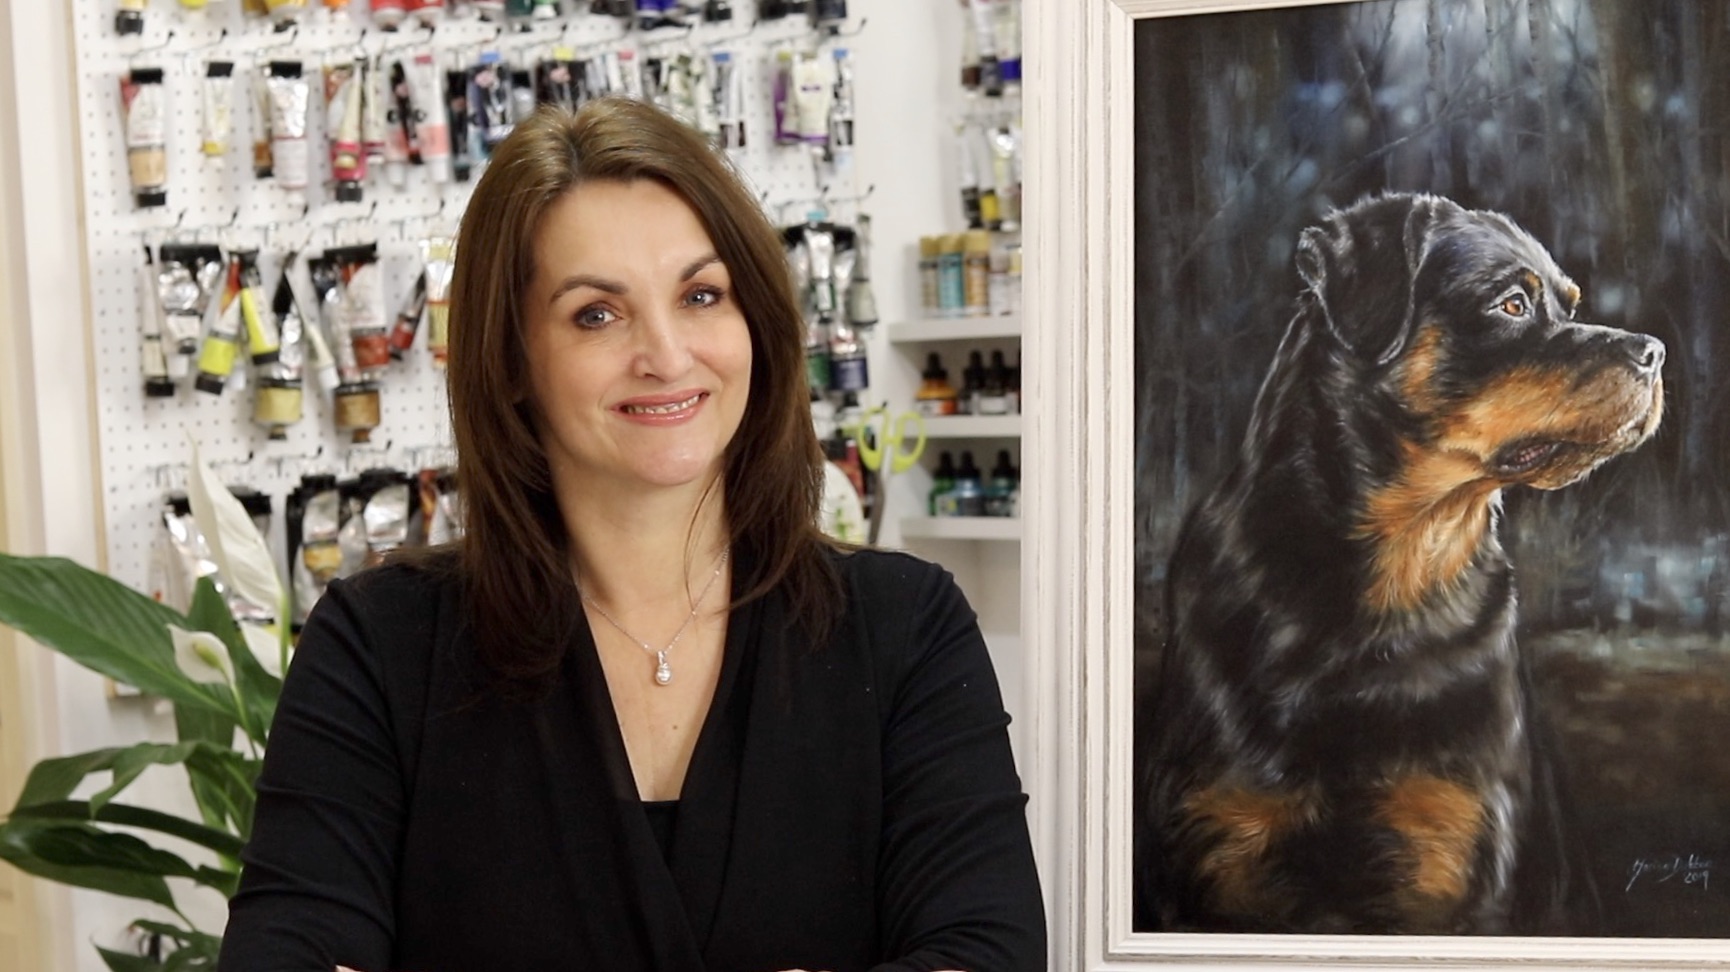
Pet Portrait Painting in Oils – Miss Marlow, Siberian Cat
- Marion Dutton
- Feb 4
- 3 min read
This pet portrait painting in oils is of Miss Marlow, our own Siberian cat. The painting is based on a photograph I took when Marlow was four years old, as she rolled around on our blue bedding, completely relaxed and at ease.
What drew me to this image was the combination of the unusual upside-down pose and the way the cool blue tones in the room reflected back into her eyes. Those blue eyes became the natural focal point of the painting and guided many of the decisions throughout the process.
This portrait was built slowly using an underpainting followed by layered colour, allowing the structure, values, and softness of Marlow’s thick Siberian fur to develop without rushing.
Establishing the Foundation

The painting begins with an underpainting, which is where I focus on getting the drawing and values right early on. At this stage, I’m not concerned with detail or texture. The aim is simply to understand the form of the head, the angle of the pose, and where the main light and shadow areas sit.
Keeping the underpainting simple helps everything that follows feel more controlled and less forced.
Placing the Eyes Early

Marlow’s eyes were always going to be central to this painting. Because of that, I like to establish them early so they act as an anchor for the rest of the portrait. If the eyes sit correctly in the head, the surrounding areas can stay much more relaxed.
Her eyes are very blue, but the intense blue you see in the eyes is also influenced by the colour of the bedding and the ambient light in the room, which helps keep them vivid without becoming unnatural.
Building the First Colour Layers

When moving into colour, I work as simply as possible. Rather than trying to mix every colour I see in the fur, I begin with a small number of value groups. This keeps the painting manageable and avoids overworking too early.
At this stage, the brushwork stays loose, always following the direction of the fur without trying to describe individual hairs.
Developing Depth and Texture

As the layers build, I can gradually introduce more variation — cooler greys, warmer browns, darker accents, and lighter highlights. Marlow has very thick fur, so this stage was built up over several layers, allowing each one to dry before moving on.
Working this way helps the fur feel dense and soft rather than flat or overworked.
Final Details

The whiskers are always one of the final steps. They’re added only once the painting is completely dry, which allows for clean, fine lines and easy correction if needed. Leaving them until last prevents them from being lost or muddied during earlier stages.
The Finished Portrait

This is the final portrait of Marlow alongside the original reference photo. She’s now eleven years old, but that relaxed, upside-down stare is still very much her. The aim throughout this painting was to keep everything calm, soft, and believable, without forcing detail.
Watch the Full Painting Process
You can watch the full pet portrait painting process in oils on YouTube, where I talk through the decisions behind the painting as it develops.


Comments